I’m going to talk about Humbucker wiring options – coil splitting and series/parallel wiring.
The purpose of these humbucker wiring methods is to make the pickup more versatile. A lot of tonal variation and feel can be achieved with some simple wiring changes.
There are numerous ways to wire the 2 coils of a humbucking pickup. Here I am going to look at the 2 most popular.
Table of Contents
Humbuckers are pickups with 2 coils working together in a clever way to cancel hum.
They have a distinctive sound with a marked push in the lower mid range. Conventionally they are wound with the two coils in series with each other. In series they have their maximum power and humbuckers spend most of their time wired this way. That’s the sound we associate with them – series wiring.
Here is a simple explanation of how humbuckers work.
But there are other ways to wire them, most common of which is coil split. The idea behind it is to make them more versatile.
Although coil splitting technically gives you a single coil pickup the sound is not that of a Strat. The coil strength is less and Strat pickups have a very different magnetic field to humbuckers. It can still be a useful sound though.
Coil split, coil tap, Humbucker wiring options, what’s the difference?
Technically speaking there is a difference but in reality the terms are interchangeable. So let’s not get too hung up on it.
Just to get it straight, splitting is when one coil of a 2 coil pickup is turned off.
Coil tapping is when part of a coil is switched off.
But really, you’ll find the phrase coil tap used in just about every situation.
My Pandora Telecaster bridge pickup is an example of ‘true’ coil tapping.
Many of us use the term coil tapping for both- you’ll just have to forgive me.
How to coil split a humbucker
Any humbucker can be coil split. It’s a lot easier with a 4 conductor pickup but can still be done with 2 conductors.
All humbuckers have 4 conductors (5 if you count the earth). The 4 wires are the start and finish of the 2 coils, that’s your 4 wires. But many have the coils connected inside the pickup with only 2 connectors coming out of the pickup. When you see 4 conductor wire in the spec of a pickup it means there are 4 wires coming out of the pickup. That means all switching possibilities are available to you.
It is possible to change from 2 conductor to 4. But it’s very fiddly and not all repair people are willing do it.
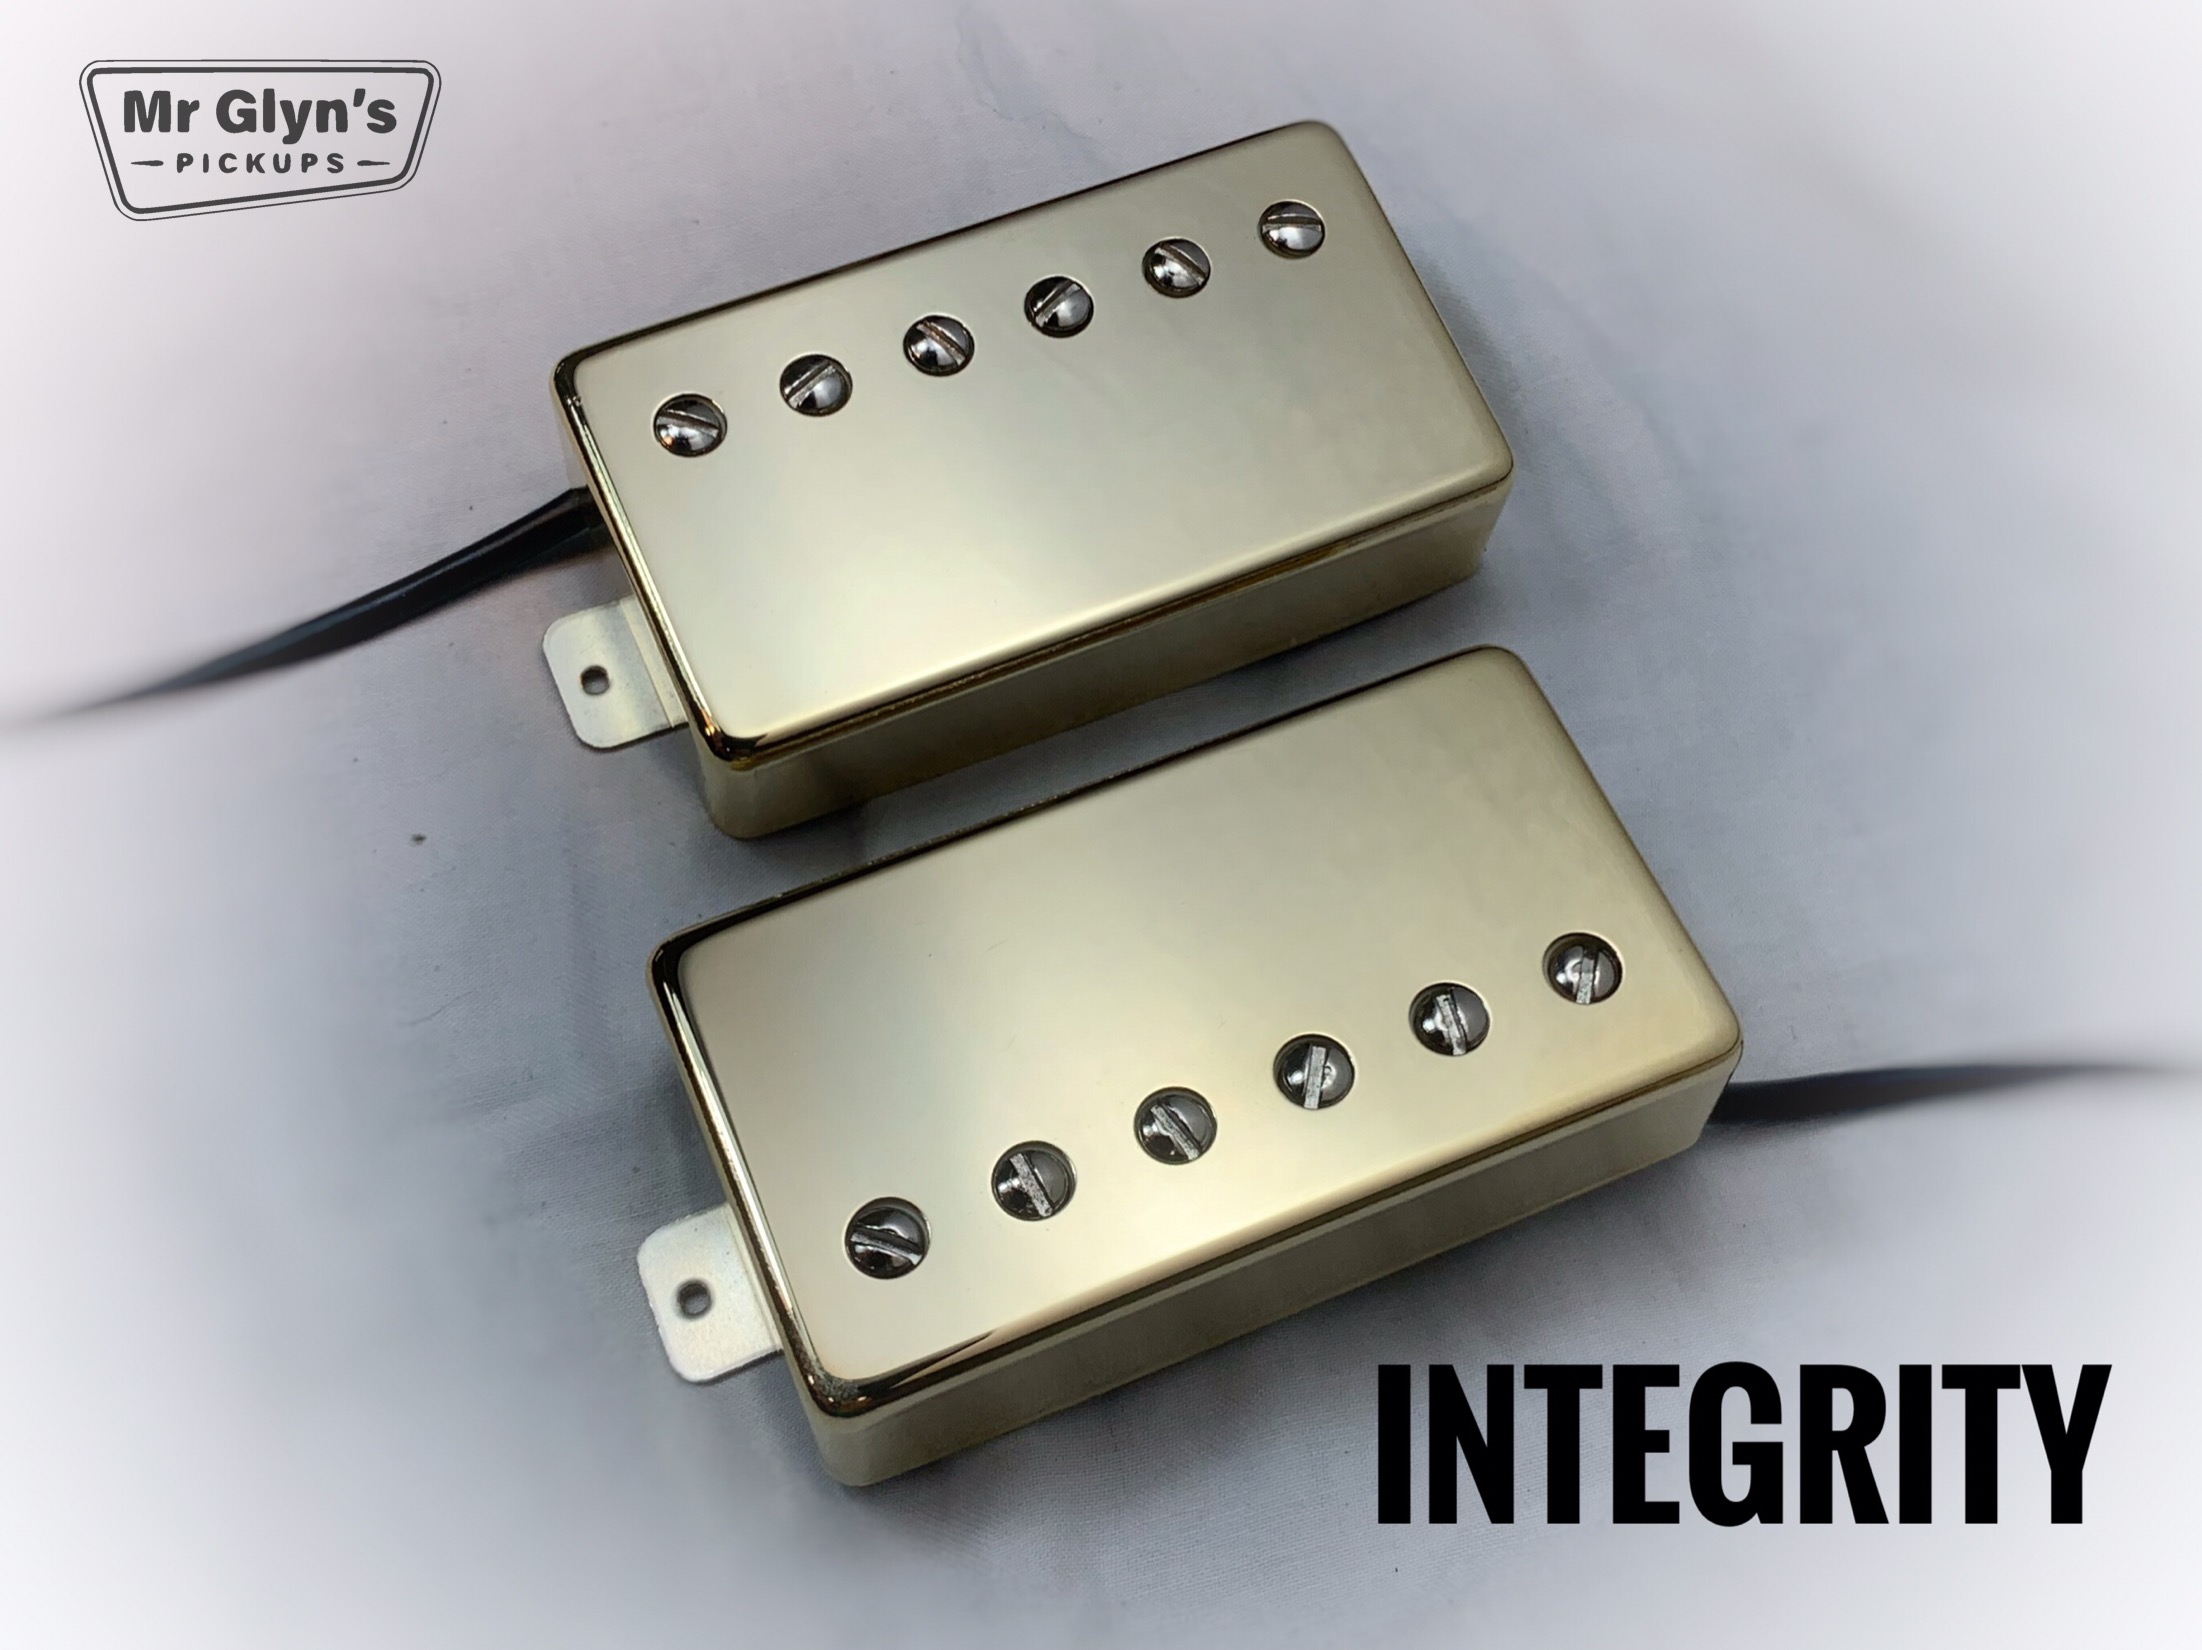
Mr Glyns Pickups’ humbuckers have 4 conductor wire – I see no reason why not. That way my customers have all the options available to them. Many more traditional pickup manufacturers use 2 conductor wire simply because they have always done that.
This diagram shows how to wire a coil split. The colour coding is for Mr Glyn’s pickups put the principle works for any manufacturer. When the push/pull switch is pulled out the red/white wires are connected to earth. That shuts off one coil. For my pickups the coil left on is the one furthest from the bridge for bridge humbuckers. The one nearest the neck for neck humbuckers. For me that is the most desirable situation. Only one half of this switch is in use so it’s possible to coil split 2 pickups with this switch.

If you wanted to leave the other coil on it’s easy. The black wire that goes from the switch to earth (back of the pot) simply needs to go to something positive. In this case the in leg of the pot.
If you wanted the switch to work the other way (coil splitting when it is pushed in) here is the diagram.

The downside is that with only one coil on the pickup is no longer hum cancelling.
Coil split 2 pickups 1 with 1 switch
Here is how to coil split 2 humbucking pickups with just one switch. The switch needs to be Double Pole Double Throw (DPDT). The diagram shows a push/pull pot.

What is Series/Parallel switching?
This one is my favorite. It gives a single coil (ish) tone with less volume drop than coil splitting and the pickup remains hum canceling.
Here is a series/parallel switching diagram for a push/pull pot.

The wiring is a tad more complicated than coil split and you need a dpdt switch but it’s a goodie. You can only series/parallel a single pickup with one switch.
We are all familiar with the sound of 2 coils in parallel. A Strat with the switch in positions 2 or 4 is just that. Often, wrongly, called ‘out of phase’ it is in fact parallel. So imagine you humbucker wired that way with itself – that’s the sound.
What does series/parallel and coil split sound like?
I’ve talked about it and drawn diagrams, let’s have a listen to these different tones. That’s what it’s about after all.
Here is the wiring I used in the video.
Here is the wiring for the little switch on the back of my Les Paul. This will give you all 3 settings.

It requires a 3 way on/on/on switch but it gives your humbucker such a variety of tones.
Is Versatility Good?
There isn’t really an answer to this one but it is worth discussing.
The more options you have the greater variety of tones are possible. It takes nothing away from your core tone so why not?
Personally, I prefer simplicity. Most of my playing is live with a band and in that situation I just want to get on with it. If I were a recording musician or a home player I would embrace every option. As it is, I feel there is enough to think about.
The history of the humbucking pickup.
The humbucking pickup, was designed to eliminate the hum inherent in single-coil pickups. It was invented by Seth Lover at Gibson in the mid-1950s and was based on an existing design used in amplifiers.
Gibson filed for a patent for the humbucker in 1955, and it became known as the “PAF” (Patent Applied For). Seth Lover is usually credited with the invention though Ray Butts of Gretsch also independently developed a humbucking pickup, the Filter’Tron, around the same time. Ray Butts’ contribution has become more recognized in recent times.
While Gibson filed their patent first, Ray Butts’ patent for the Filter’Tron was issued slightly earlier, leading to some debate about who invented the humbucker first.
The earliest Gibson PAF pickups had a ‘Patent Applied For’ sticker on the underside.
After they received the patent the number 2,737,842 was stamped on the base plate. However, this patent number is actually for the Gibson trapeze tailpiece – fun fact.
Enjoy this? You may also like…