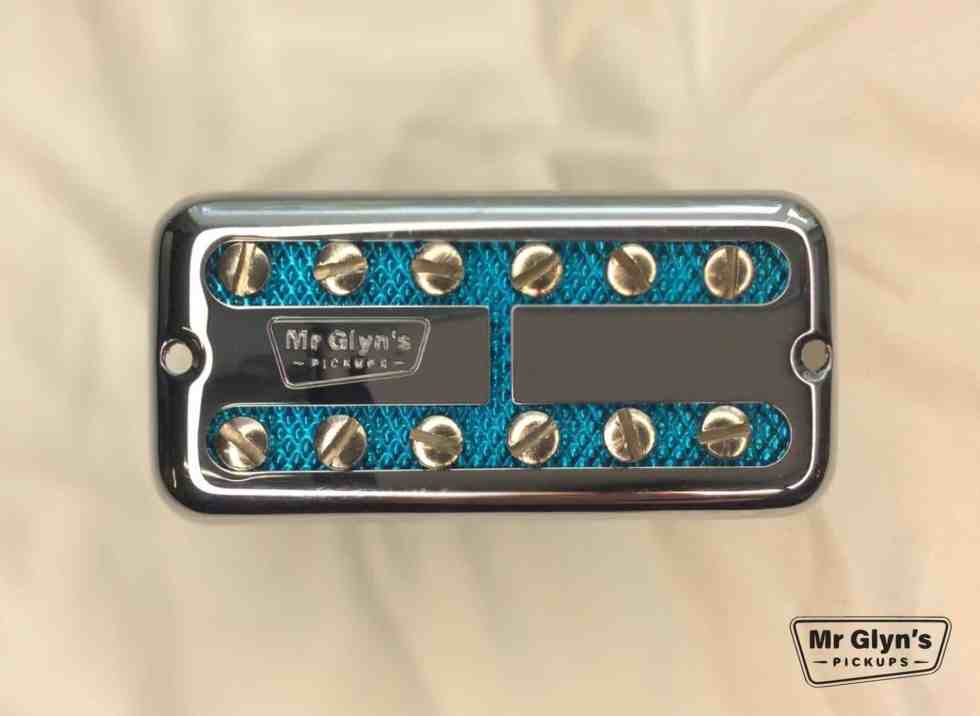
3 String humbucker pickup NZ$165 for NZ customers,if you’re overseas it’s GST free; NZ $143.48
D.C. resistance 3.6kOhms, 1.06H, Alnico V
3 String single coil pickup NZ$139 for NZ customers,if you’re overseas it’s GST free; NZ $120.87
D.C. resistance 3.3 kOhms, 1.37H, Alnico V
4 String humbucker pickup NZ$175 for NZ customers,if you’re overseas it’s GST free; NZ $152.17
D.C. resistance 4.91 kOhms, 1.43H, Alnico V
4 String single coil pickup NZ$149 for NZ customers,if you’re overseas it’s GST free; NZ $129.57
D.C. resistance 4.44 kOhms, 1.93H, Alnico V
3 and 4 string pickups are primarily made for cigar box guitars. Designed for a full tone with the ability to grit up when asked. They have a pure chime that reacts well to overdrive and fuzz.
I designed these pickups around the requirements of cigar box players. The aim was to create a pickup that would have a fantastic clean tone. As well as that it needed to have grit when used with overdrive. It needed to retain clarity and not to become total mush with heavy fuzz. The overall feel needed to have a low-fi vibe with a loose, open attack.
Cigar box guitars are becoming more popular. They’re simple construction makes them cheap and easy to make. There are a lot of people making them in their garages. Having been asked many times to make pickups for these cool instruments, here is the result.
Both the 3 and 4 string humbuckers are designed for cigar box guitars. The 4 string pickups double up as an electric steel string ukulele pickups.
The whole design phase turned out more complicated and involved than I had anticipated. I do like to deep dive into the tones my potential customers use.
After a fair bit of experimenting for these 3 and 4 String Pickups. Here is what I came up with;
Table of Contents
3 and 4 string single coils
The 3 and 4 string single coil pickups were designed around my hot Strat pickup – The Tui. Single coil pickups have a more immediate attack, a cleaner, purer signal and great dynamics. If you need a sappier, cleaner sound the single coil is for you.


3 and 4 string humbucker
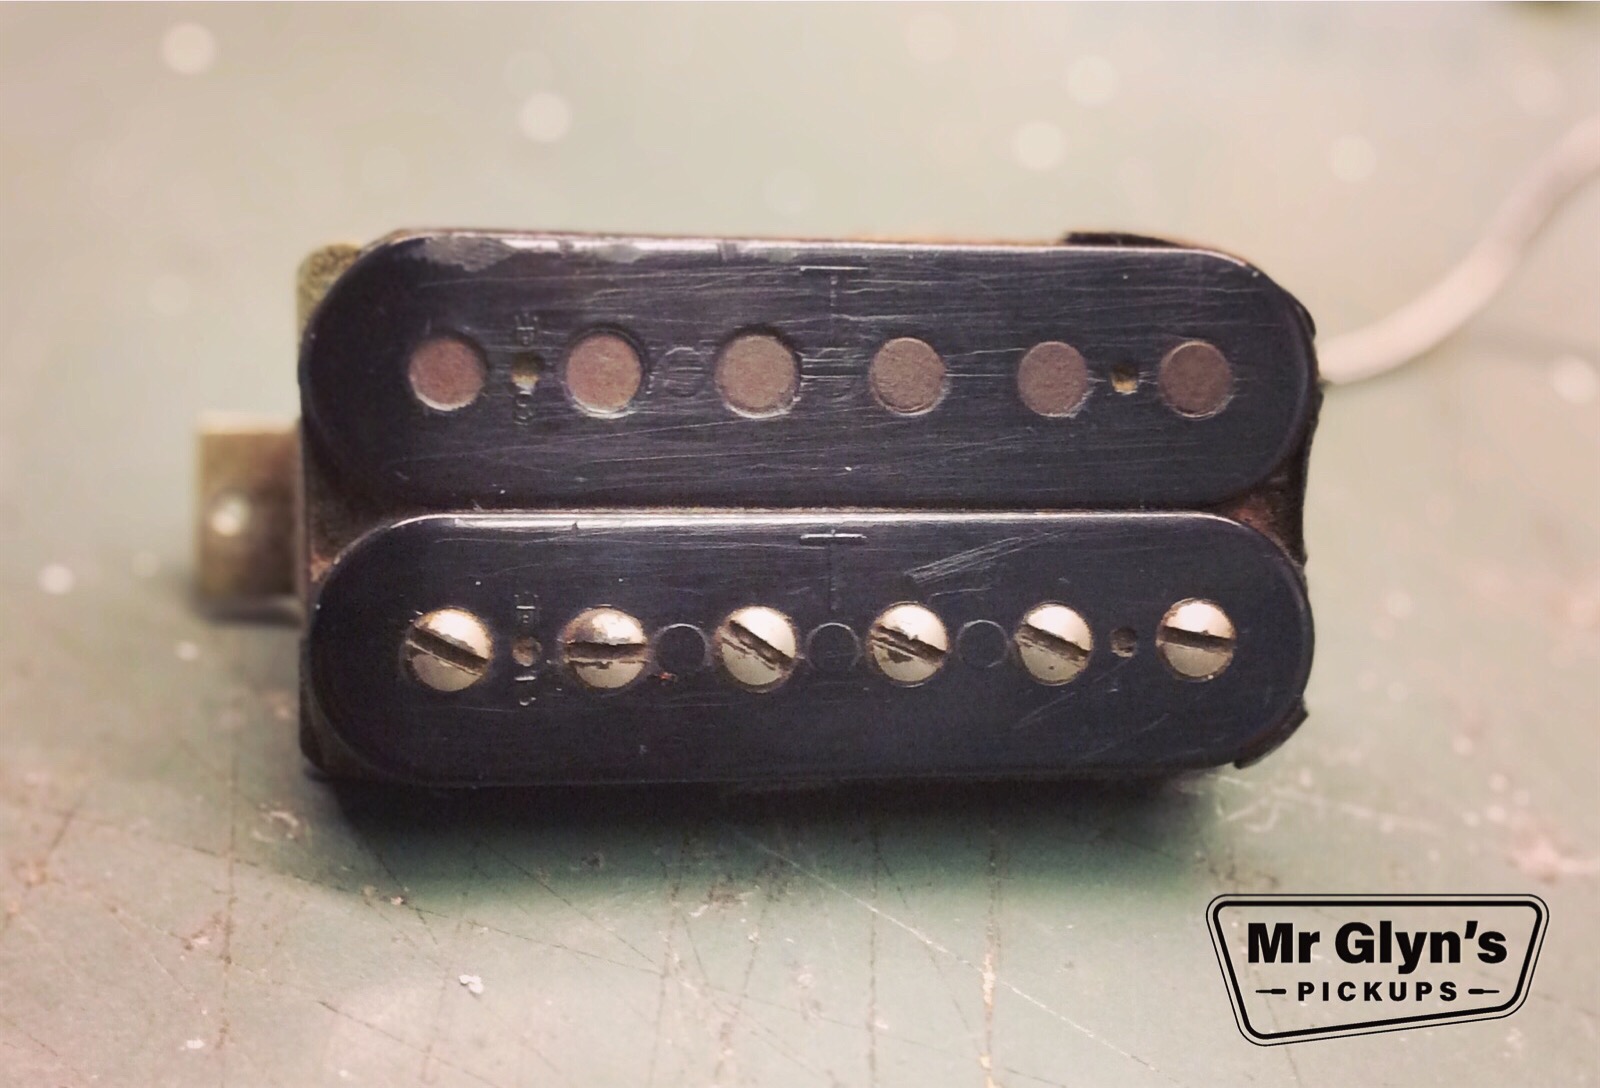
The 3 and 4 string humbuckers have windings based on a Gibson PAF. But with the ‘in coil’ rod magnets of a Fender. Humbuckers have a fuller, meatier sound with a more pronounced mid range. They are, of course, hum canceling which can be very useful especially when using overdrive.
The coil is designed around the Gibson PAF. Though scaled down for the smaller bobbins of either 3 or 4 string. I used rod magnets inside the coil to create clarity and string definition (like a Fender). All the flatwork of these pickups is laser cut in house. That way I can control every element of the design.
Why the staggered magnets on the 4 string humbucker?
Each of the 2 coils of the 4 string pickup has 4 magnets. Only 2 are visible from the top. From below you can see all of them.
The higher magnets emphasize their related string. So the bass strings have a little more bottom end. The treble strings have more twang.
These humbuckers have 4 conductor wire as standard. This makes it easy to add switches for coil tap or series/parallel broadening your tone pallet.
I am always happy to help with wiring suggestions or diagrams.


String spacing
The string spacing on the 3 and 4 String Pickups is the same for all 4 of these pickups. – 10.4mm
I chose this spacing to be the same as fender guitars. Lots of makers use Fender spaced bridges.
The spacing is the distance between the pole magnets – center to center. Here is an article to help if you are not sure how to measure your pole spacing.
Design Requirements
What is a cigar box guitar?
A cigar box guitar is just that- a guitar who’s body is made from an old cigar box. They generally have a neck transferred from another instrument or custom made.
There are many variations on the theme but that’s the basis of it.
They usually have either 3 or 4 strings. Although they are generally electrified they can also be acoustic.
Many players like to use cigar box guitars through fuzz boxes or old Amplifiers. To prevent excessive noise I have designed these pickups as humbuckers. That way the noise is kept to a minimum. Here is an explanation on how humbuckers work.
Another advantage of humbuckers is the various wiring options. The full, fat humbucker sound is wired in series. There are options where it can be wired in parallel, giving a more Fender like tone. Then there is coil tapping, simply switching one coil off (only applies to the 3 string). All this can be done with a switch. Here are a couple of wiring diagrams to help with this.
There is no standard size for cigar box guitar pickups. Most people make their own guitars. To support this I am happy to provide CAD drawings to 3D print router templates. This will ensure an exact fit. They are designed for use with a 1/4” cutter and a 3/8” guide bush.
Pickup positioning
One of the most important considerations with a pickup is where to place it along the string length. Put simply, the closer it is mounted to the bridge the more treble and twang. Closer to the neck gives more bass and a more mellow tone. It is up to you, there is no right or wrong.
I have read articles where it was recommended to position the pickup in relation to the string harmonics. The thinking being it should be over the 24th fret harmonic. For me this doesn’t work. String harmonics are not in fixed positions, they are a proportion of the string length. As soon as you start fretting notes they move.
My advice for guitar makers is to experiment. Make a jig so you can mount the pickup from above. That way you can listen to which position sounds best for you and your instruments. There isn’t a ‘best’ place, just the best for you.
4 string story
The initial design idea for the 4 string humbucker came from a conversation with Corey Muxlow from Australia. He was making an electric ukulele for Drydon Mitchell from the band Alien Ant Farm. He wanted a pickup, we talked and the 4 string was born. I am told Drydon loved his ukulele and it’s getting regular use.
3 and 4 String Pickups Height
The base plate is designed with the intention of a pick guard mounting like in a Strat type guitar. It is also possible to mount one from a pickup ring like with Gibson humbuckers. I’ll leave it up to you to figure out what works for your instrument. There is always going to be some modifying needed to fit this pickup.
Remember, you’re aiming at a pickup height of 2mm. That’s from the top of the magnet to the underside of the string. That measurement is taken when fretting the last fret.
This diagram should help:

That measurement is not super critical but you need to be close. If the pickup is too far away you will not get a strong, clear signal.
Enjoy this? You may also like…


updated March 2026